I love how this looks hanging up in my apartment. It gave just the right touch bringing in a little more pink and red. Pink is definitely my favorite color, and I incorporate it shamelessly into just about every holiday decor item I make.
It is relatively easy to do, just a bit time consuming. Its a good idea to put on a movie, watch The Bachelor, or even work on it while you are watching the Super Bowl! It would put a girly twist on such a manly occasion.
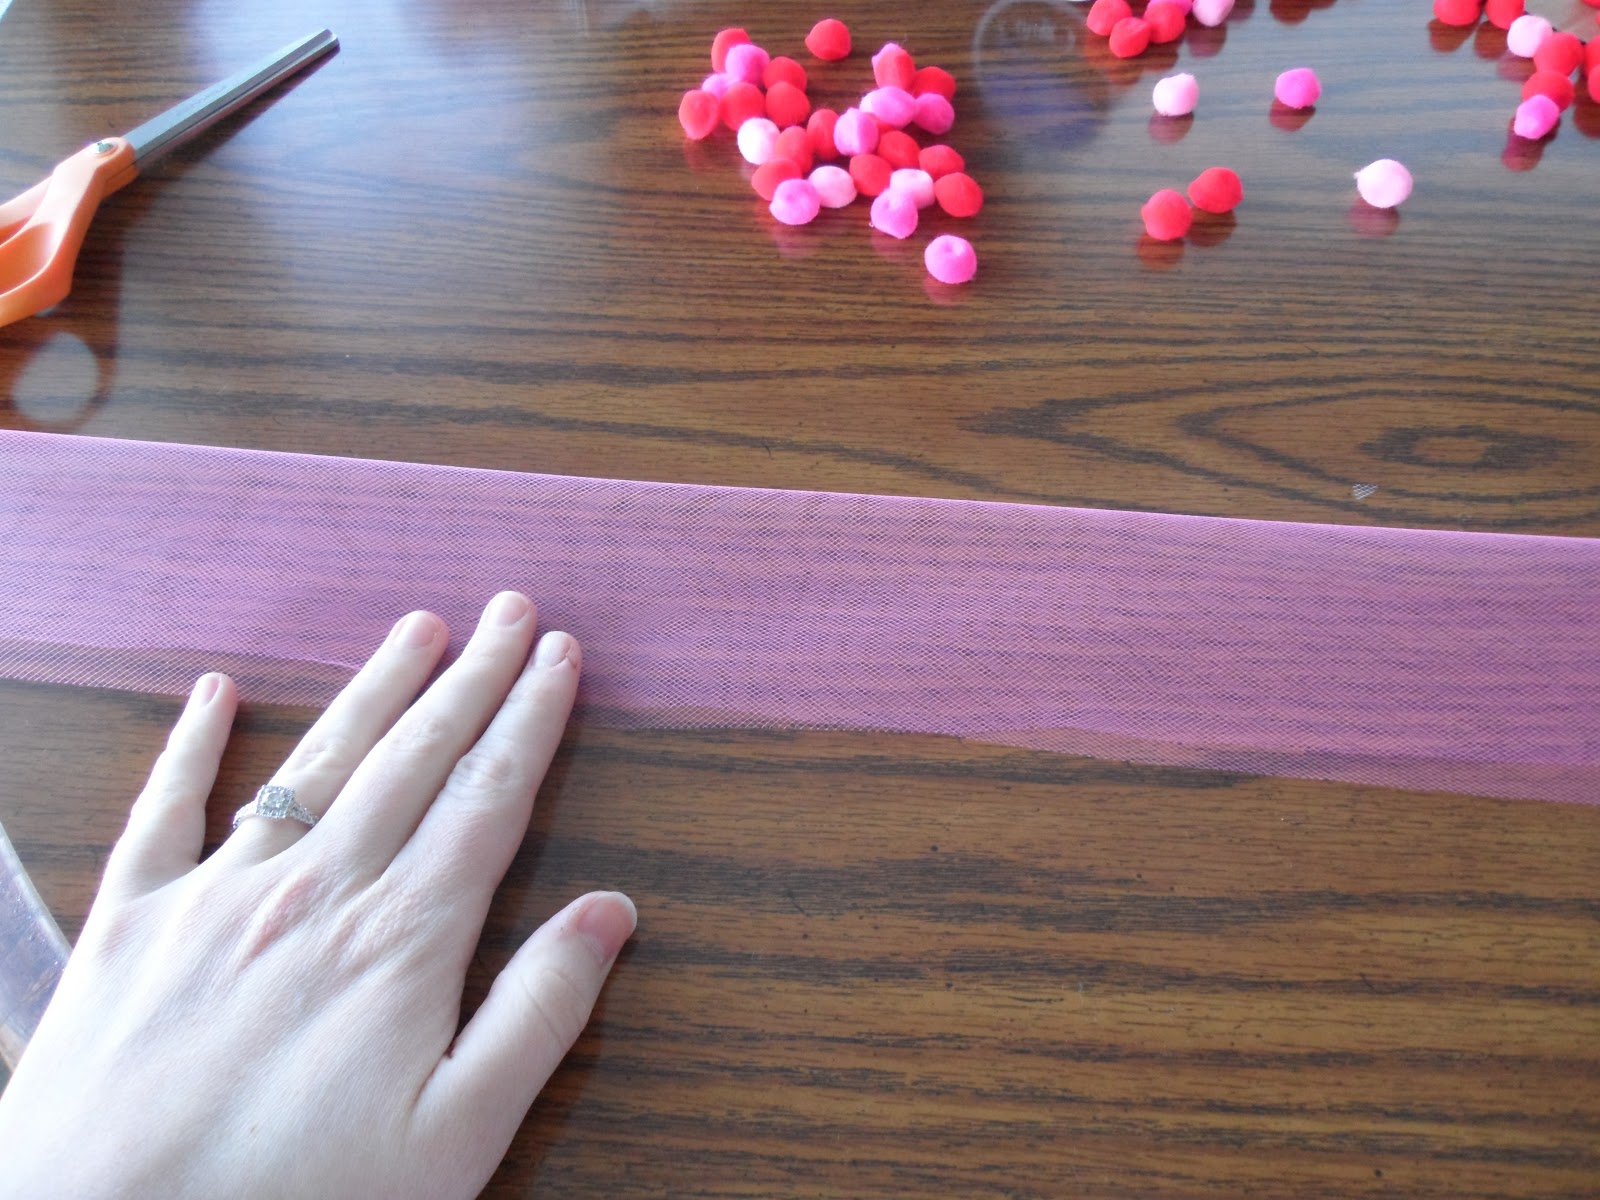
Supplies Needed:
Desired colors of tulle-- I used two different colors of pink
Fabric scissors
Needle
Your choice of thread (I used a skinny red thread because I didn't want it to show up too much. It is up to you)
something to wrap the tulle around. I just cut off a flap from the top of a box.
Pom Pom Balls
Measure how long you want your piece to be ( I used about a 2.5 foot piece each time) and cut.
I folded the tulle in half length wise (like a hot dot) because it was too wide for my taste. This is optional.
Wrap the tulle around the cardboard piece
Slide it off of the cardboard

Tie string or yarn like it did around it. Make sure you keep the folds at the top and bottom so you don't tie them together.
Once it is tightened, you can cut along the folds
Pull the individual pieces apart...
And Voila! You have a Tulle pom pom!
Decide on a pattern
Thread the needle, and get crackin'! Push your needle straight through the middle of the tulle and pom poms.
I made another garland with just the pom poms to add a little texture. I I love it and think it adds a little pink and red touch that is desperately needed after the long, dreary January we had around here.
Thanks for stopping by!
Linking up at
Be Different, Act Normal